Parts & operation of the camera
View Camera
View camera – large-format camera with a ground-glass back on which the photographer views the scene before the lens. The view camera makes large negatives (4″ x 5″ or 8″ x 10″, for example) and are suitable for creating large prints. Operating the view camera requires a tripod, so there are no snapshots when using a camera like this.
To make a negative/print/plate with a view camera, the operator must: (1) set up the camera on a tripod, (2) pull a dark cloth over him/herself while focusing and framing the shot (in full sun, the image on ground glass would not be fully visible); the image appears on the ground glass upside-down and reversed left to right, (3) prepare the film/plate carrier (a skinny light-tight box), (4) replace the glass back with the film carrier (or slide the film carrier in front of the glass), (5) make the exposure, (6) remove the film carrier.
The flexibility of the bellows allows the photographer to make compositional adjustments before exposure that are only possible with this type of camera.
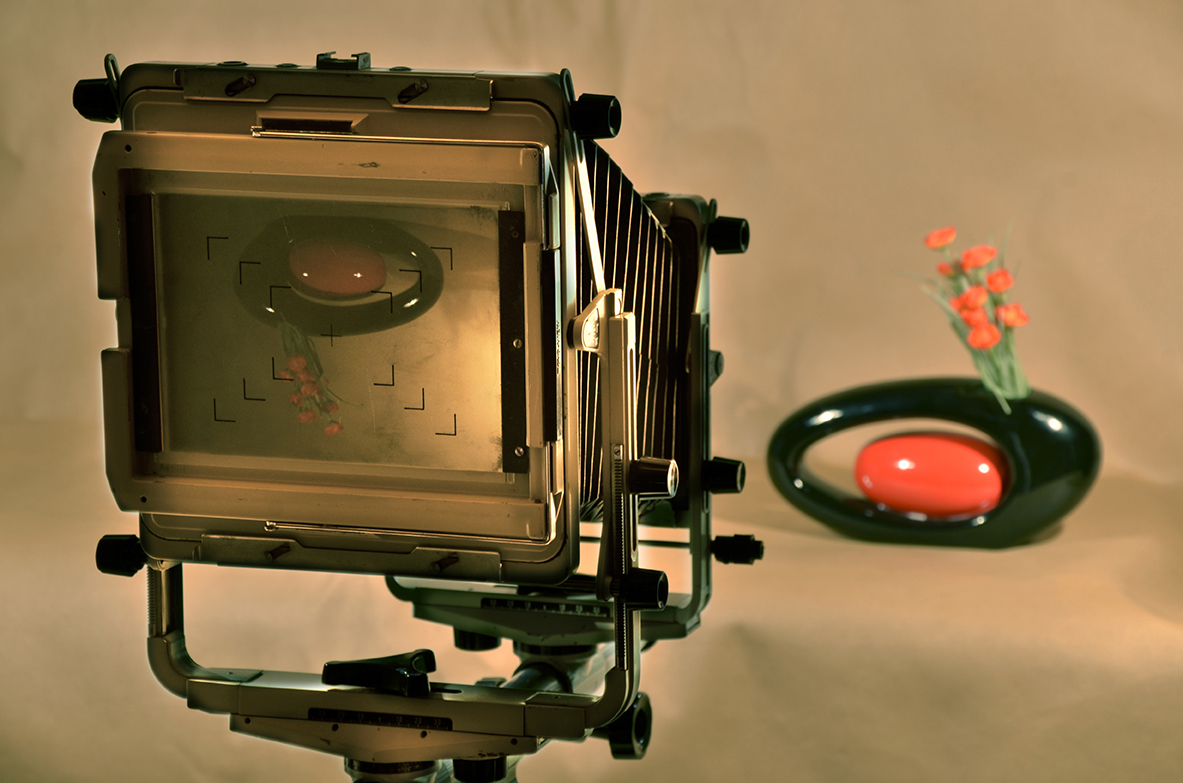
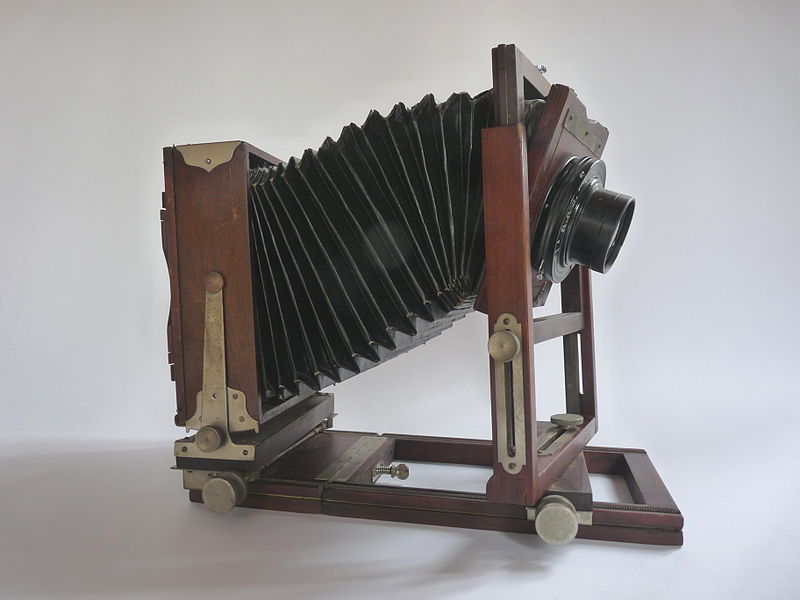
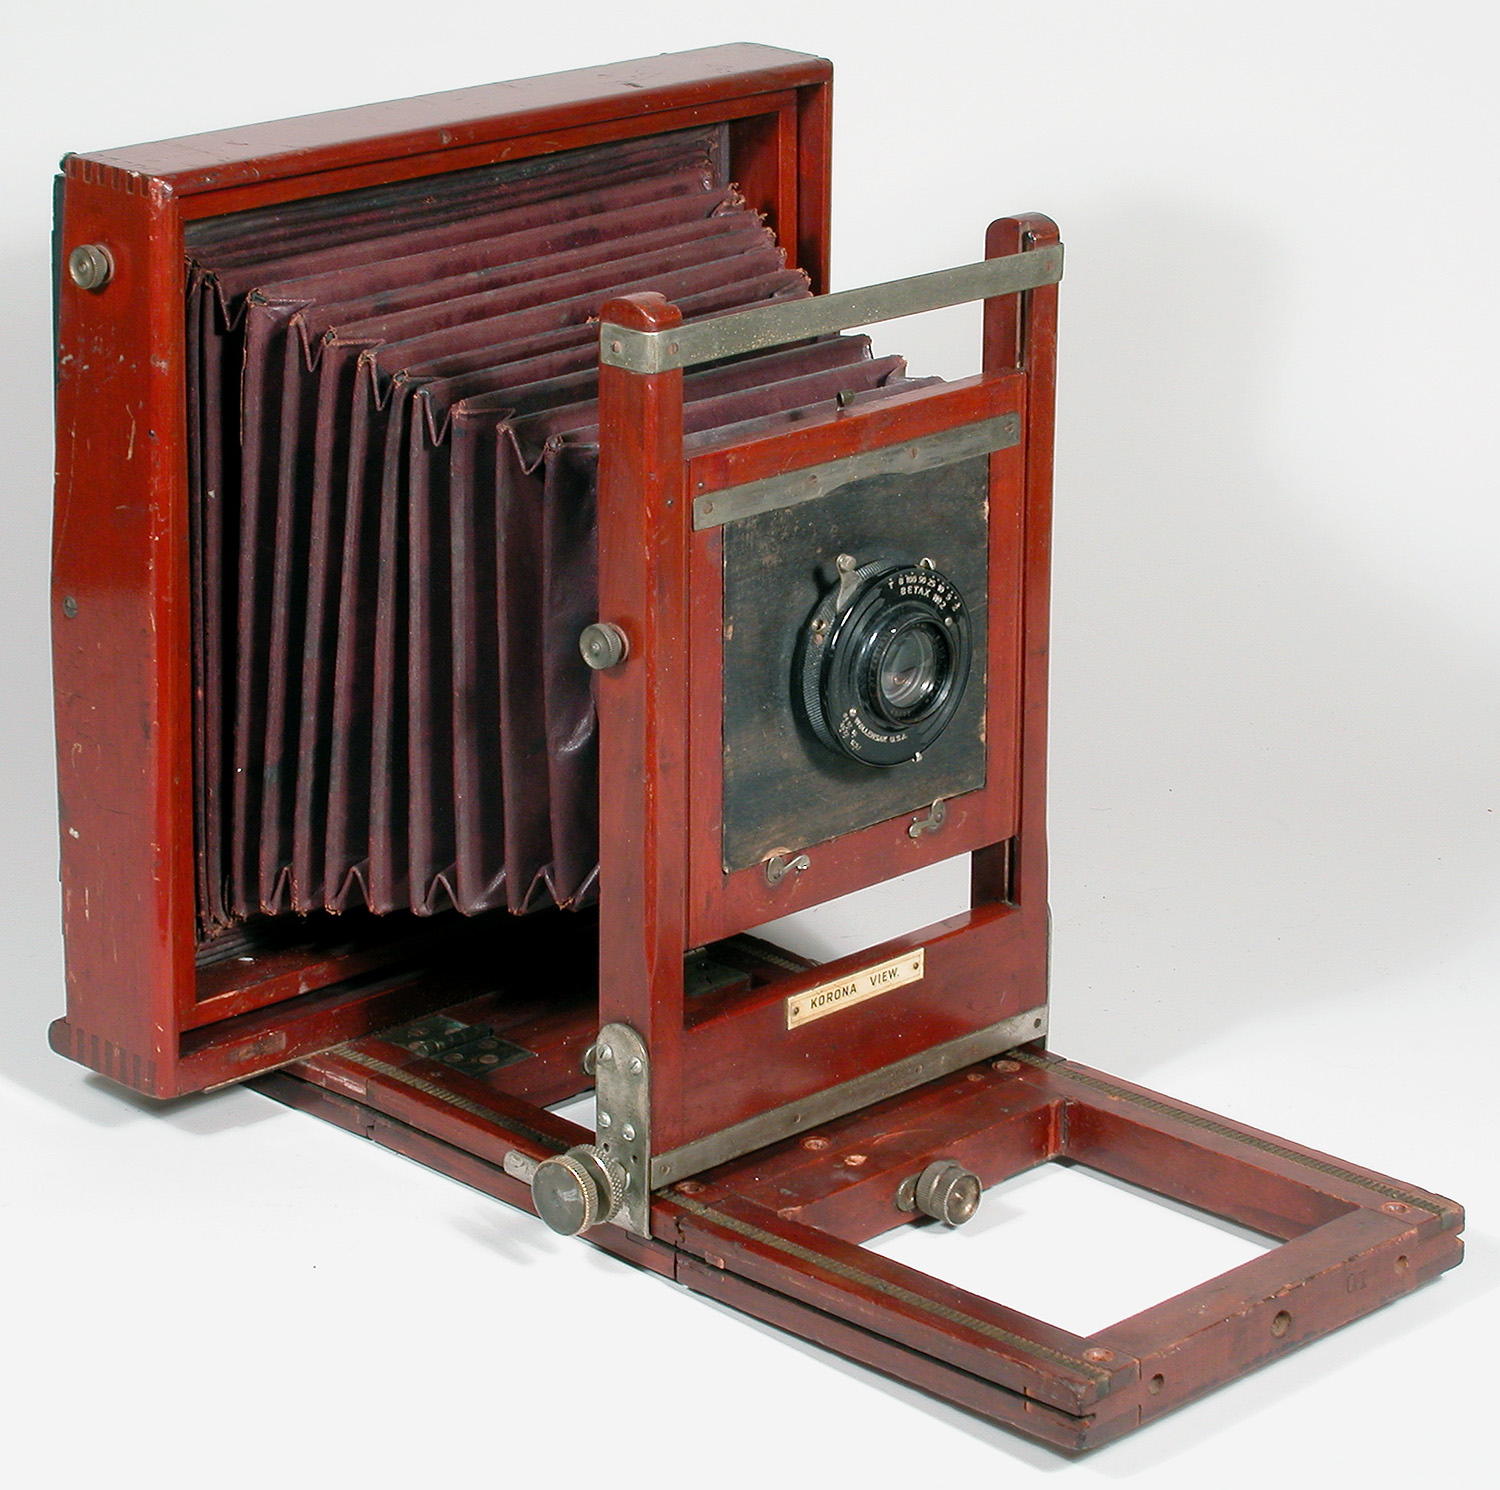
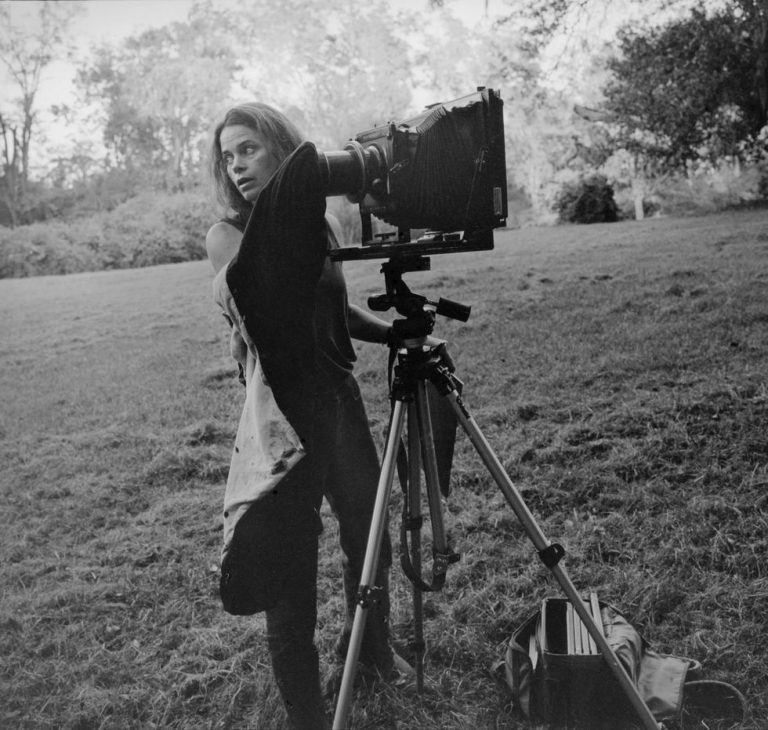
PHOTO: KIM RUSHING
Single Lens Reflex (SLR)
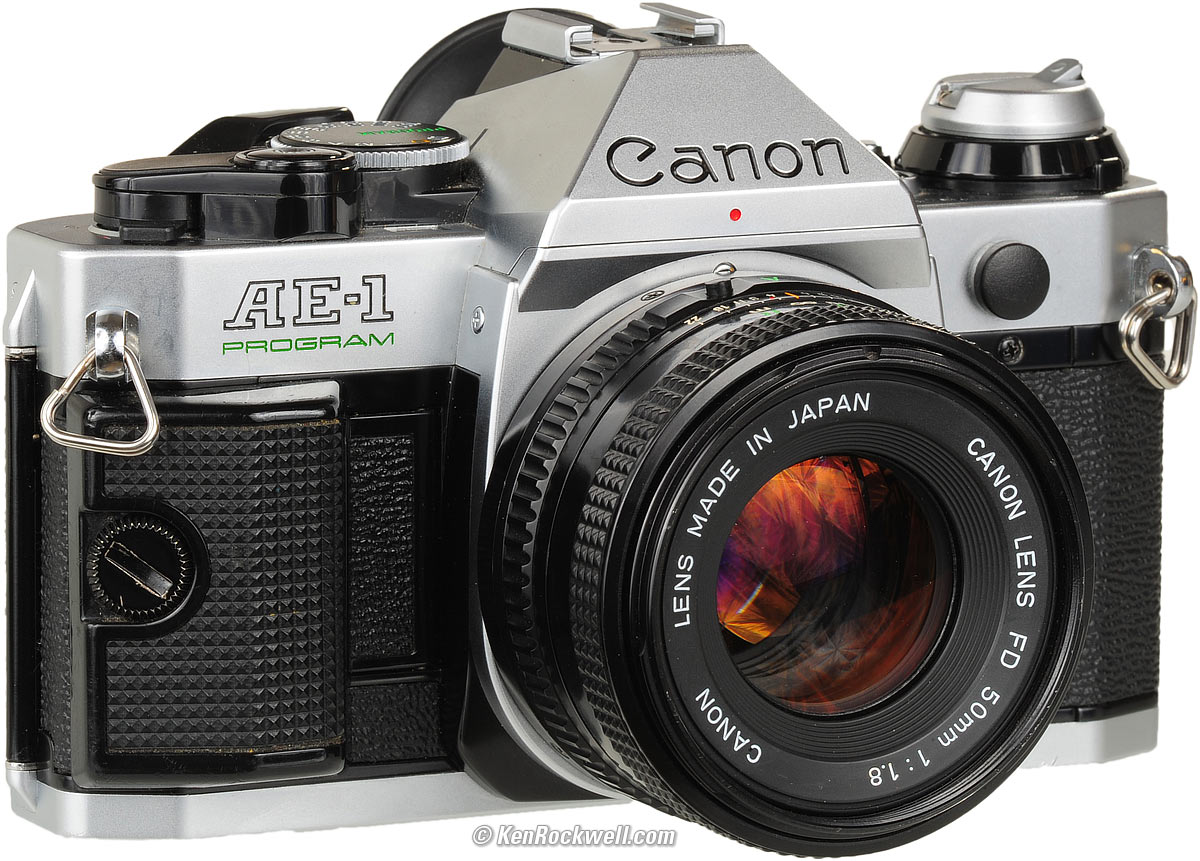
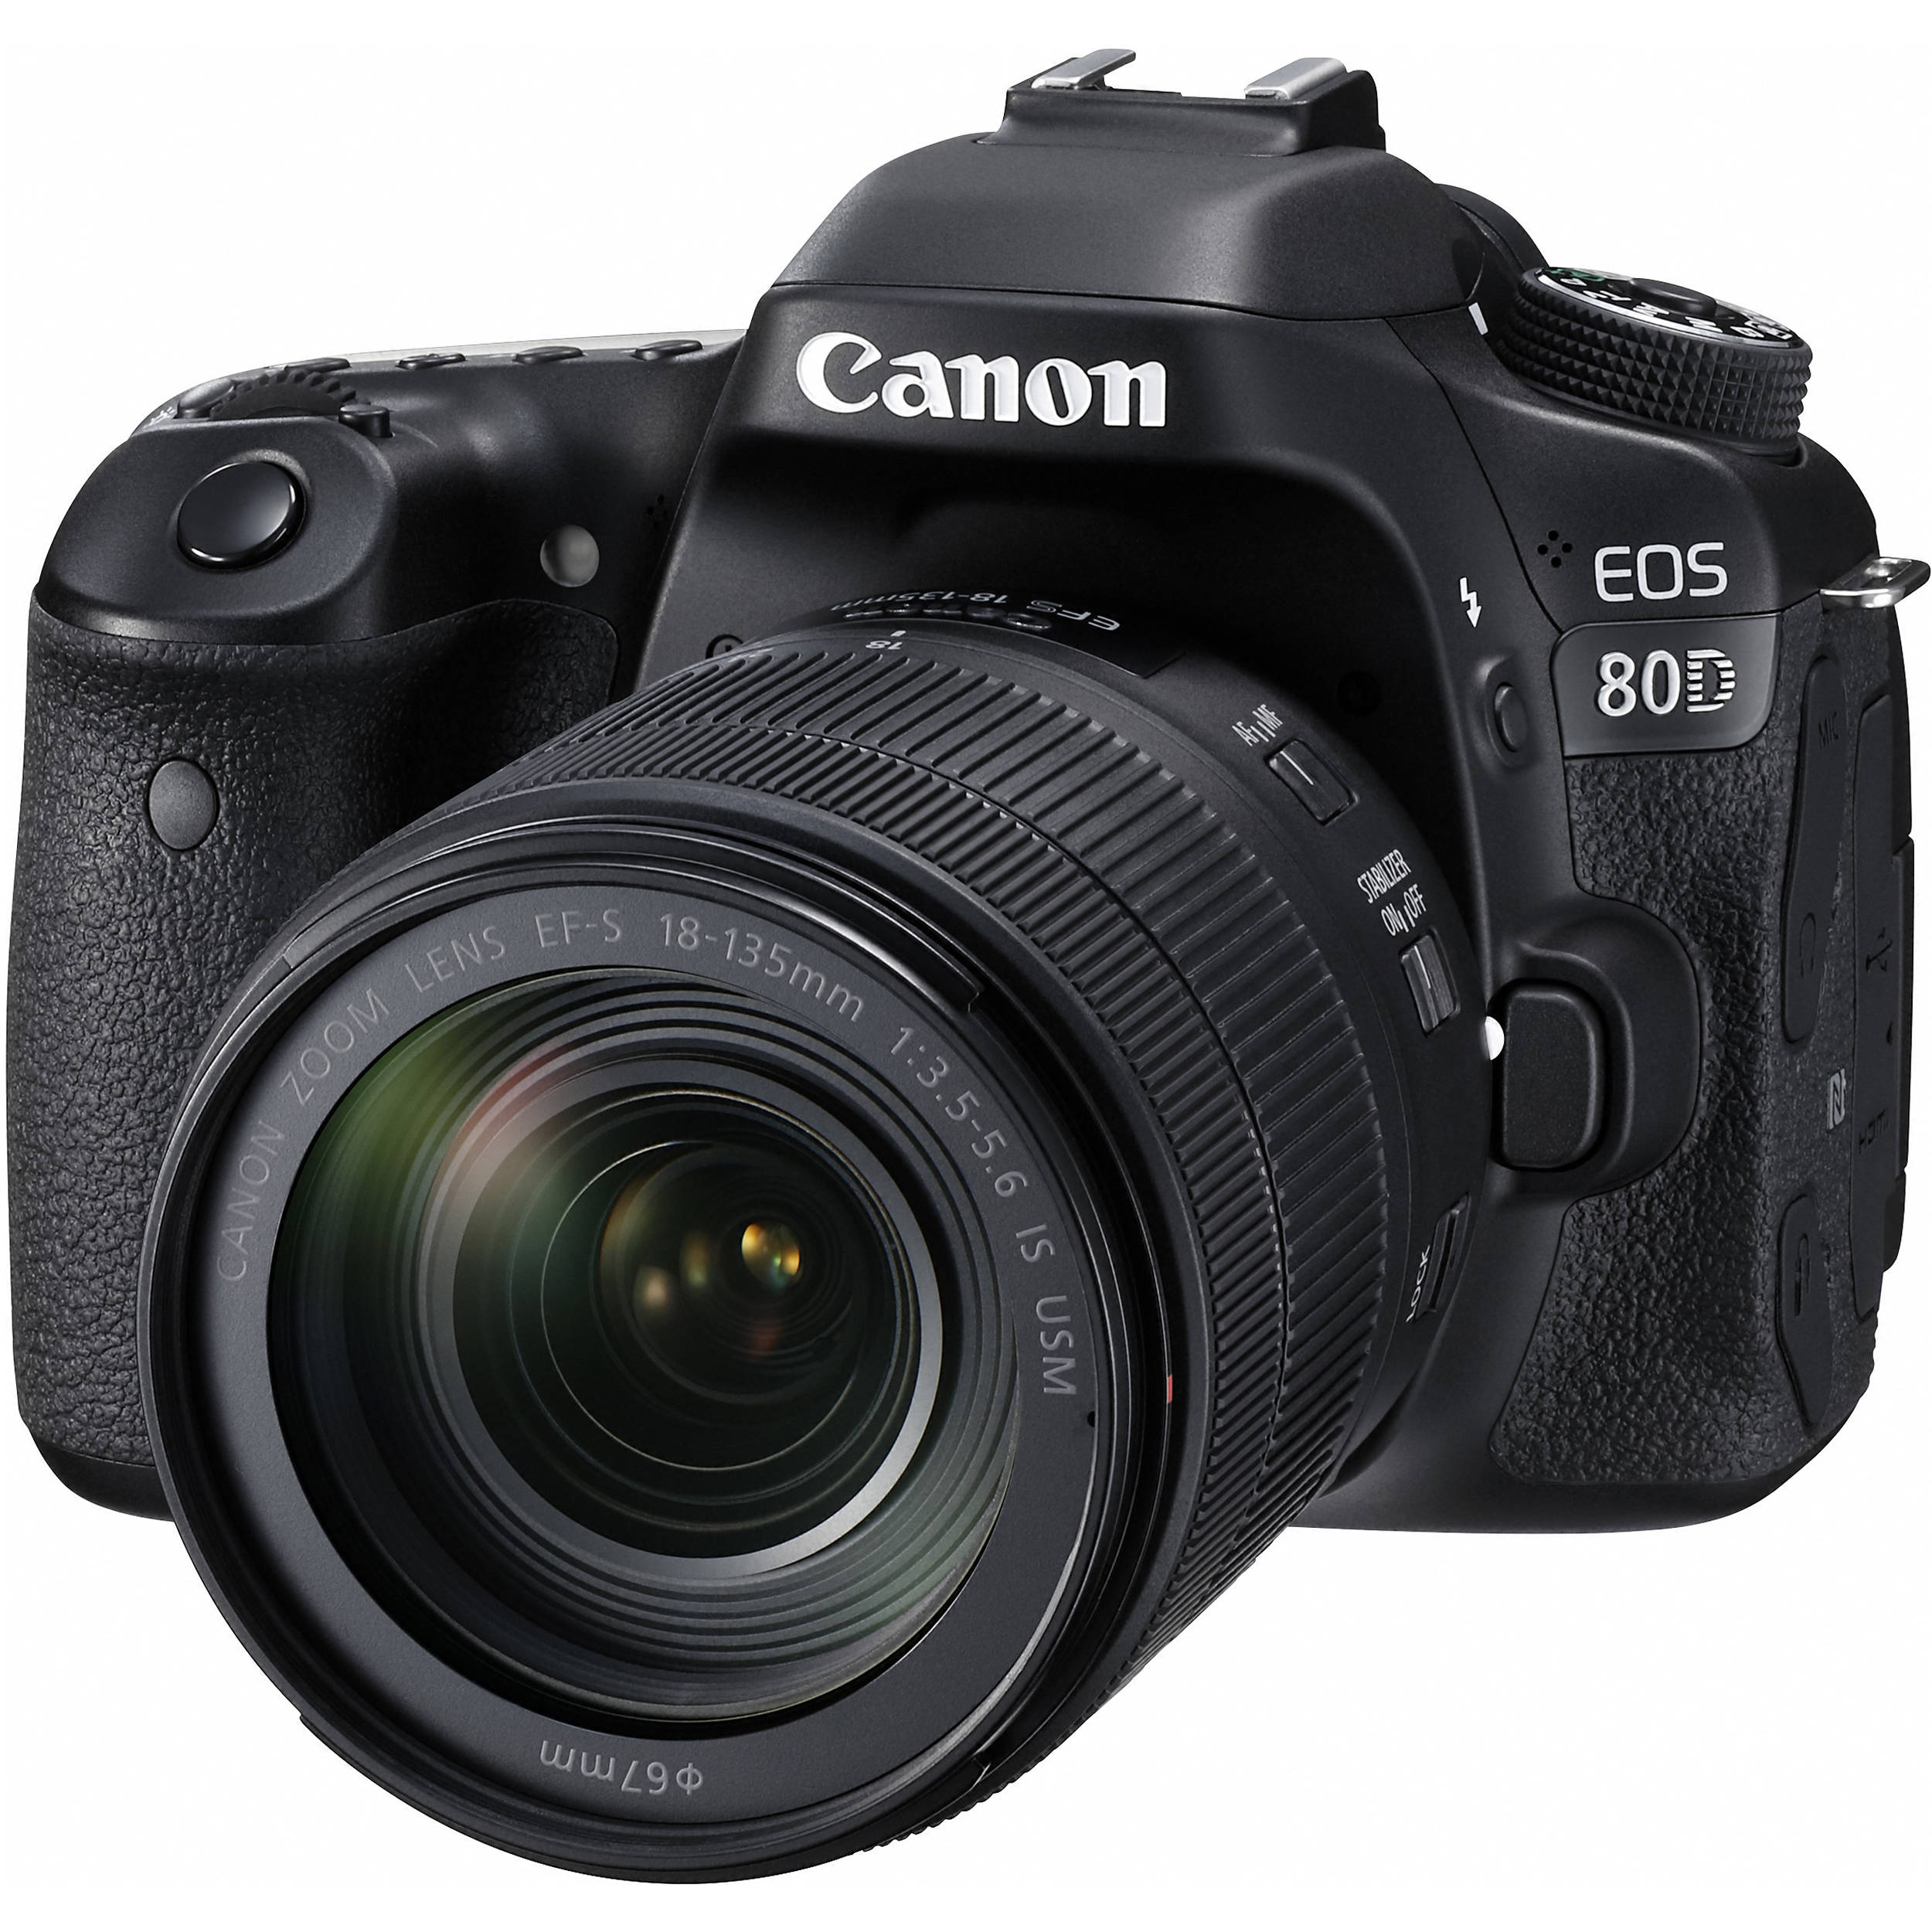
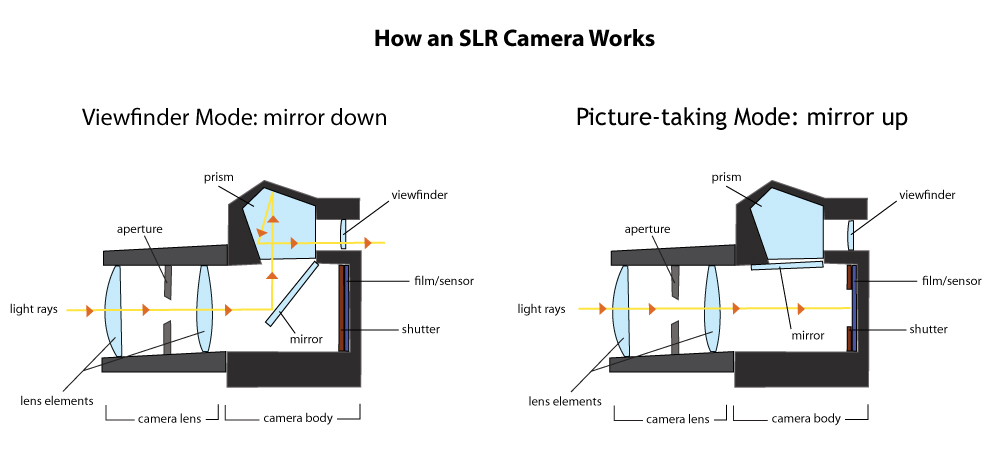
SLR – single-lens reflex camera. Can be digital or analog (film); they work the same. This is the camera with which we are most familiar. The recording medium (film or digital sensor) is directly behind the lens, and represents the picture plane, which is why when you take a picture, the picture looks like what you see. When you look through the viewfinder, you are looking through the lens, because of a series of mirrors and prisms. When you press the shutter release button (or take the picture), the mirror lifts up for the time of the exposure; the recording medium is then exposed to the scene that you have framed and chosen.
Recording Media
What the image is recorded on
Any of these, depending on the camera/process used: Glass plate coated with light-sensitive material, paper coated with light sensitive material, cellulose film, digital sensor.
Terms for Camera Operation
Aperture and shutter speed both control how much light comes through the lens.
Aperture (or f-stop) refers to the size of the hole through which light passes in the lens. A small aperture lets through less light than a wide aperture.
Aperture is adjusted on the lens and is represented by a number usually between 1.4 (open aperture) and 22 (stopped down aperture)
The aperture stops you are most likely to encounter are f/1.4, f/2, f/2.8, f/4, f/5.6, f/8, f/11, f/16, f/22 and f/32, though digital cameras have different aperture stops.

Aperture also affects the depth of field, or how much of the image will be in focus.
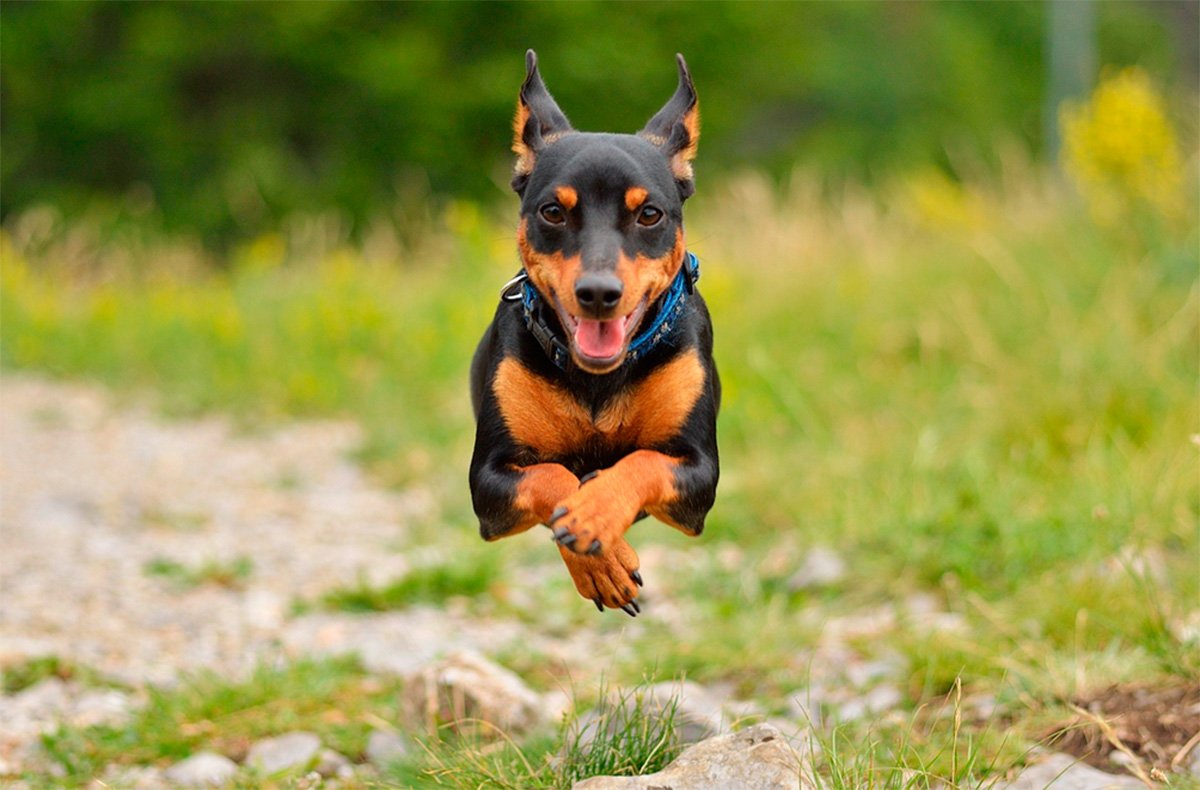
A small or stopped down aperture means both the foreground and the background will be sharply focused – this is called a deep depth of field.
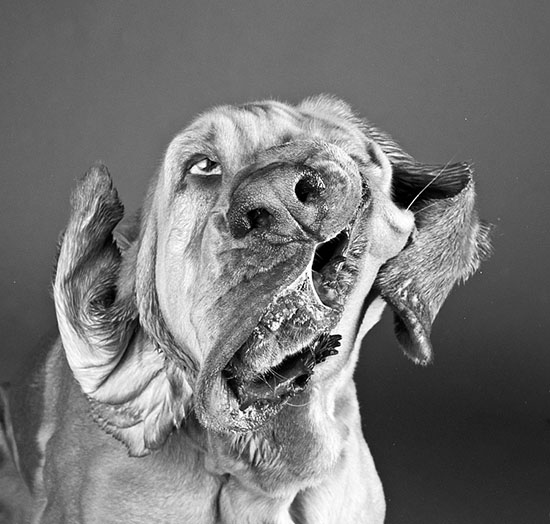
A wide aperture means only a small portion of the image will be in focus – this is called a shallow depth of field.
If you’ve ever had your pupils dilated for an eye exam then you have experienced this in action.
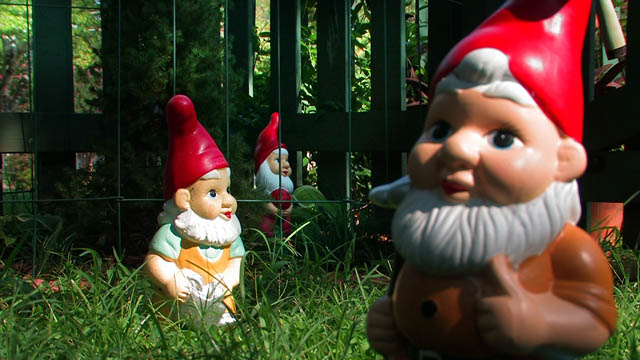
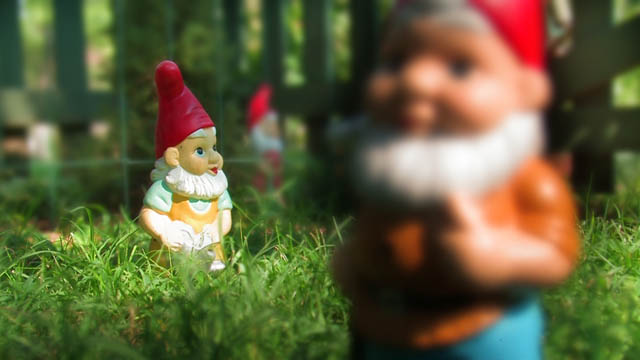
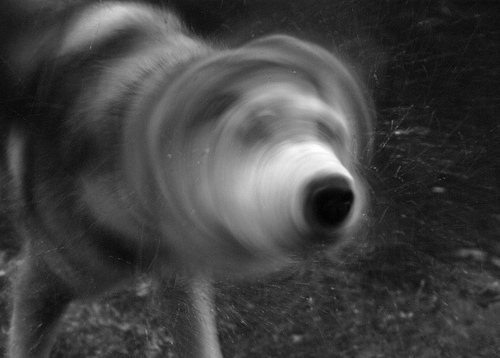
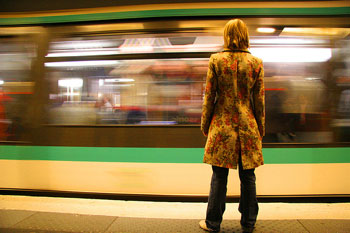

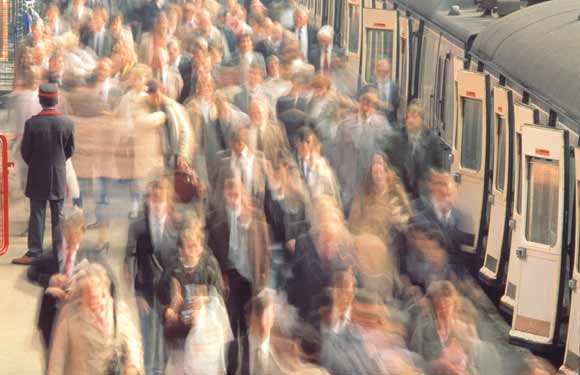


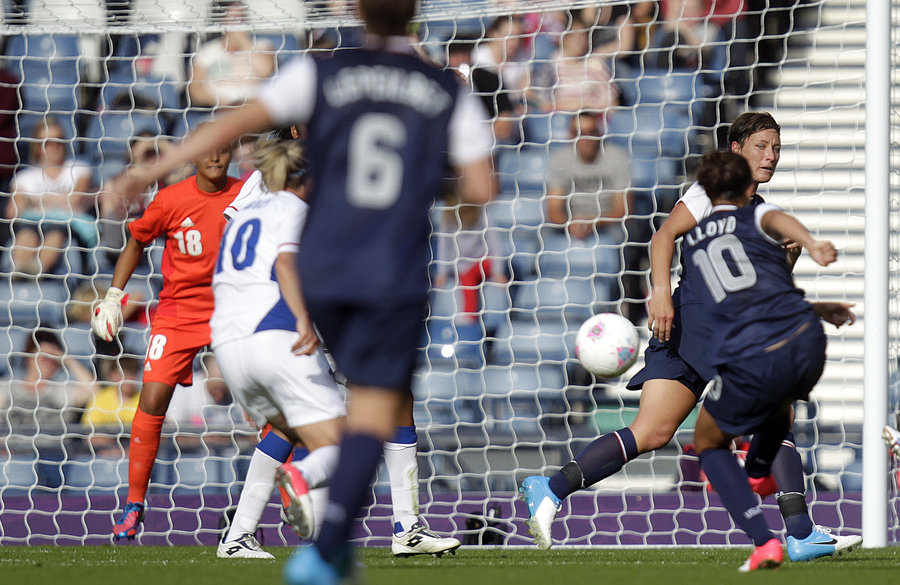
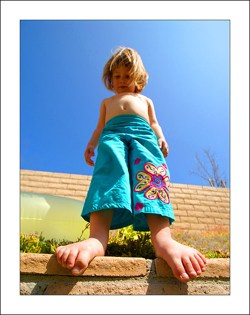
The image below shows what happens when you change the aperture from wide to small without changing the shutter speed. A wide aperture allows more light to pass through than a small aperture.
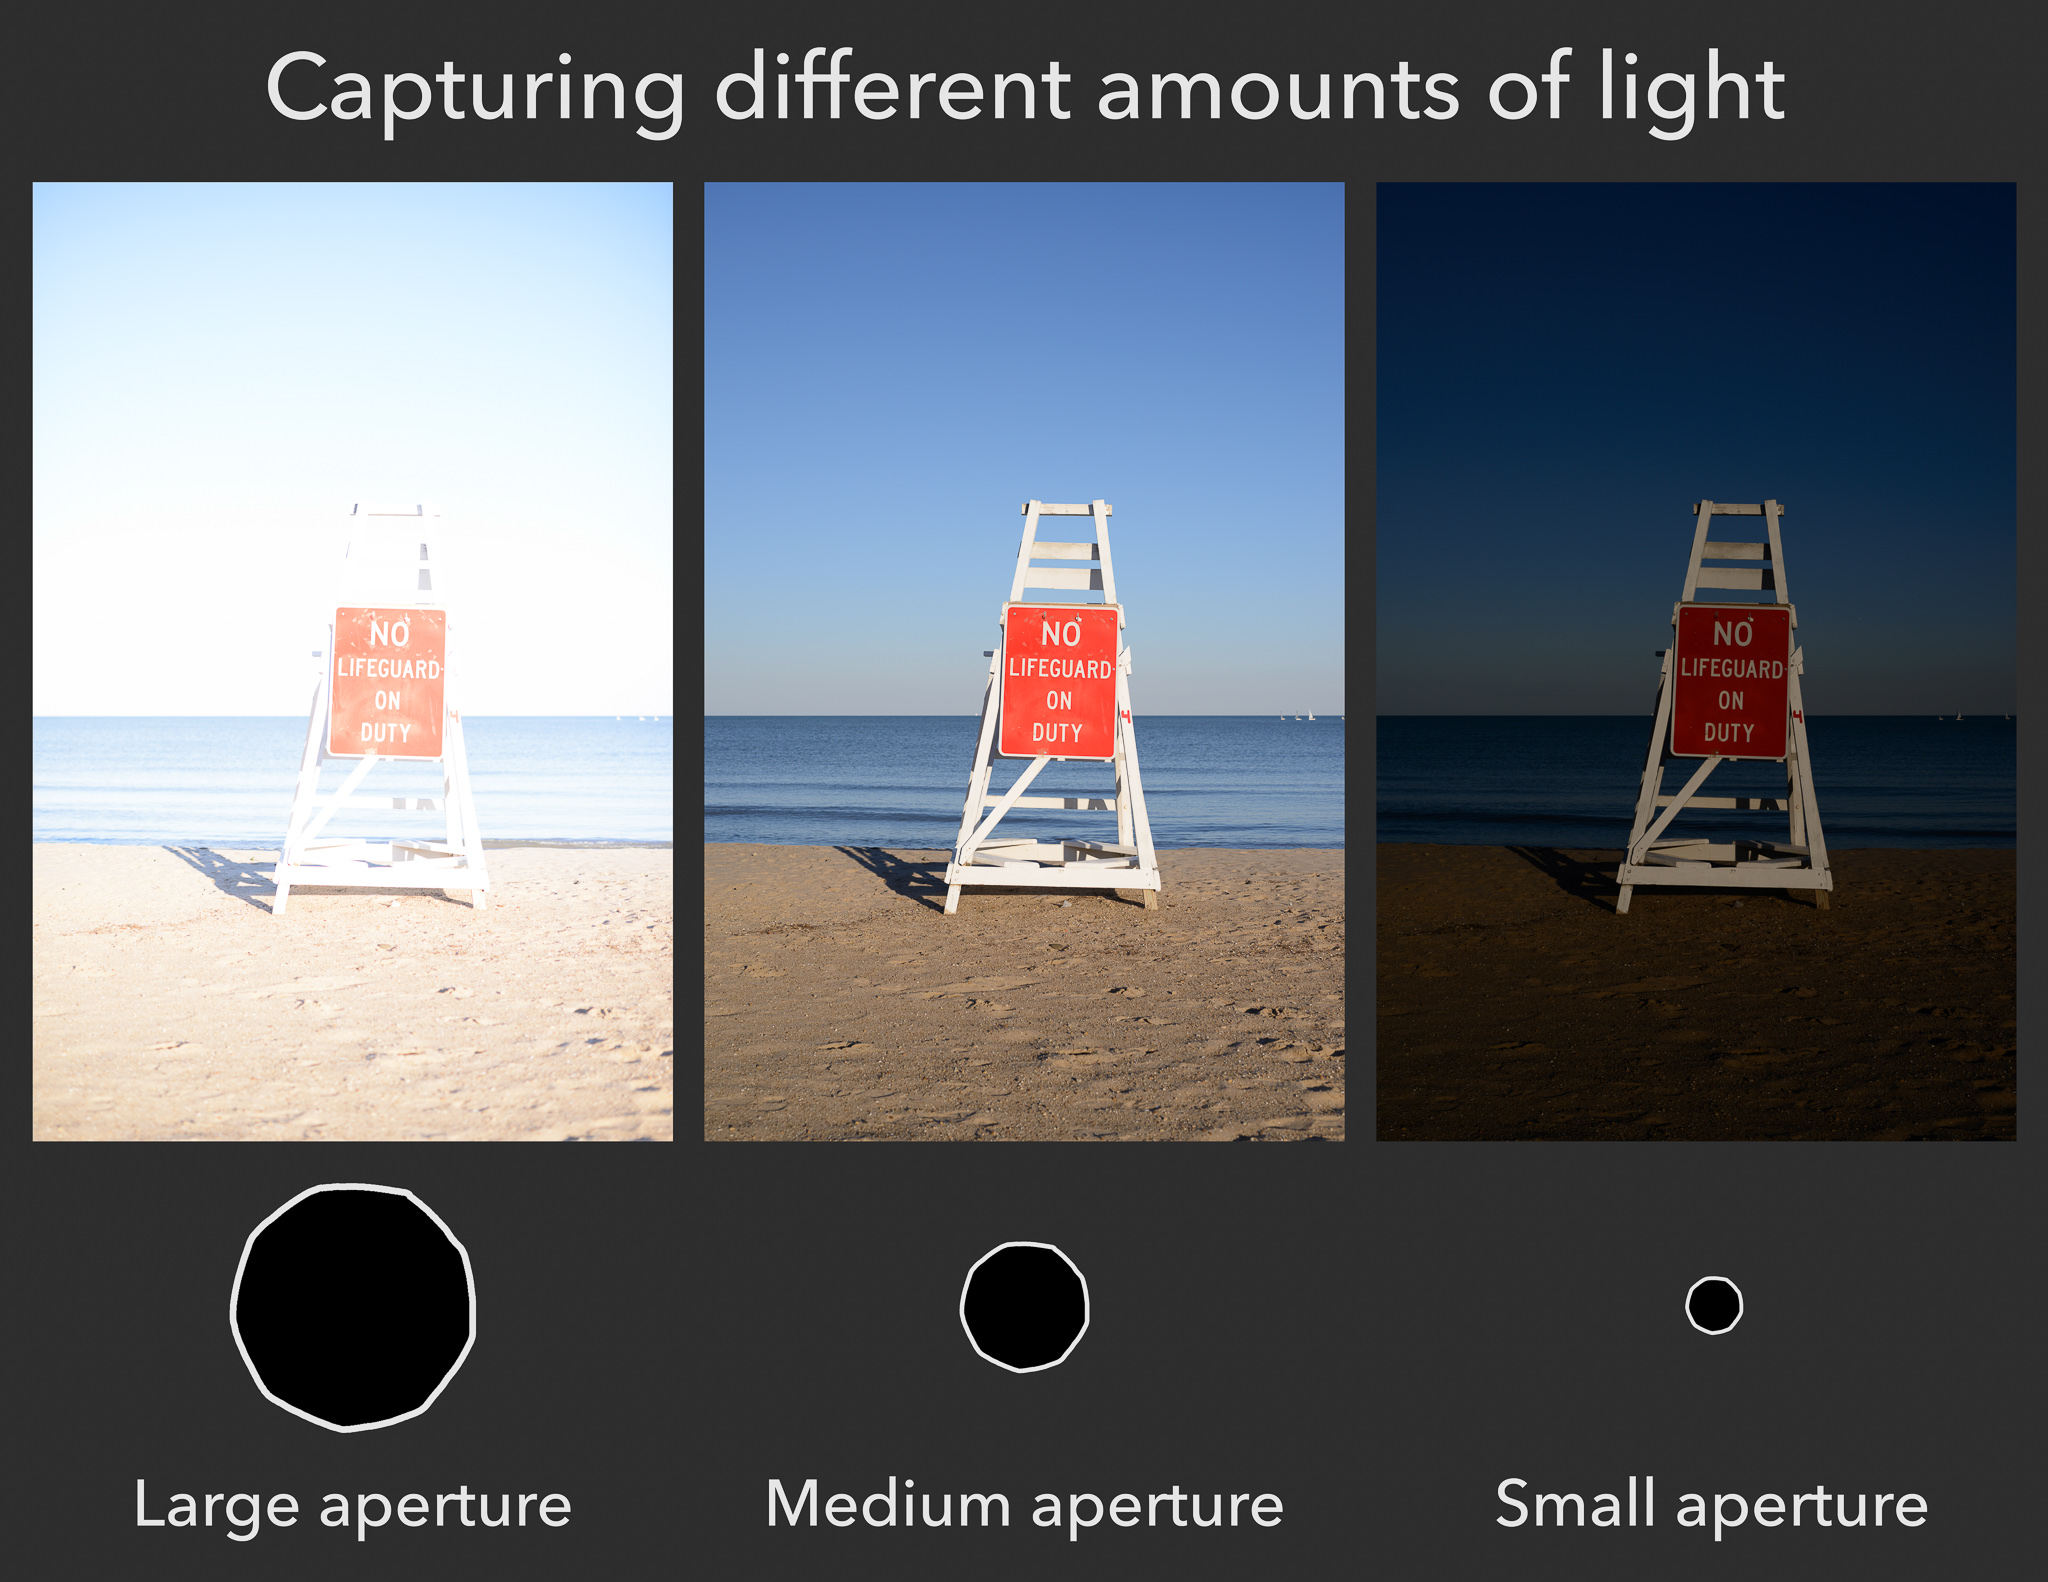
Overexposing results in a too-light or washed-out image because it has received too much light. This creates a very dense negative and not enough light reaches the paper when printed
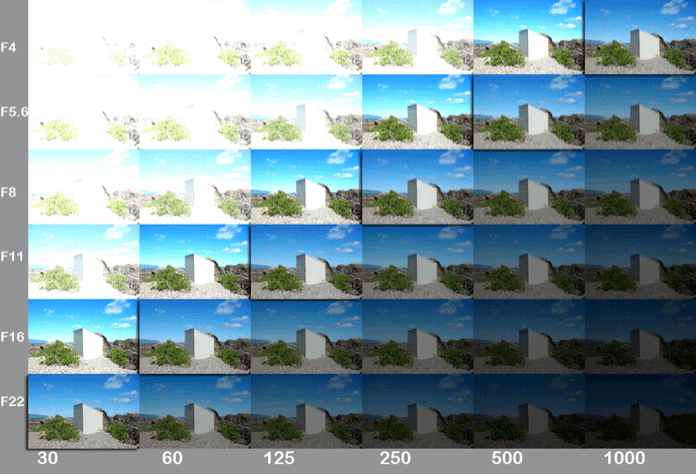
The photographer must decide what is the best balance between aperture and shutter speed settings to get a proper exposure and to create their desired outcome regarding motion and depth of field.

Processing/Printing Terms
Direct positive – a process that creates a unique image/object without a negative. Daguerreotypes, transparency film (slides), and Polaroids are direct positives.
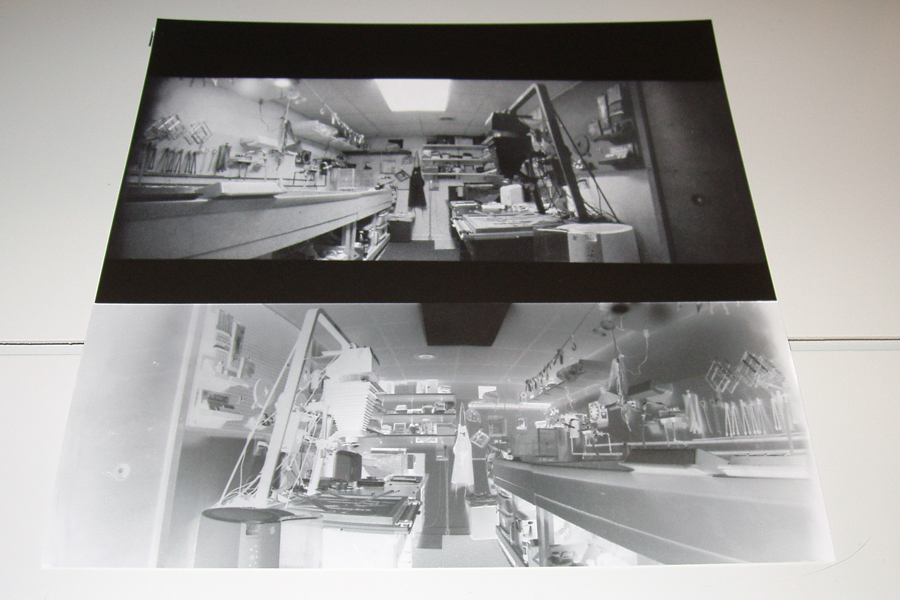
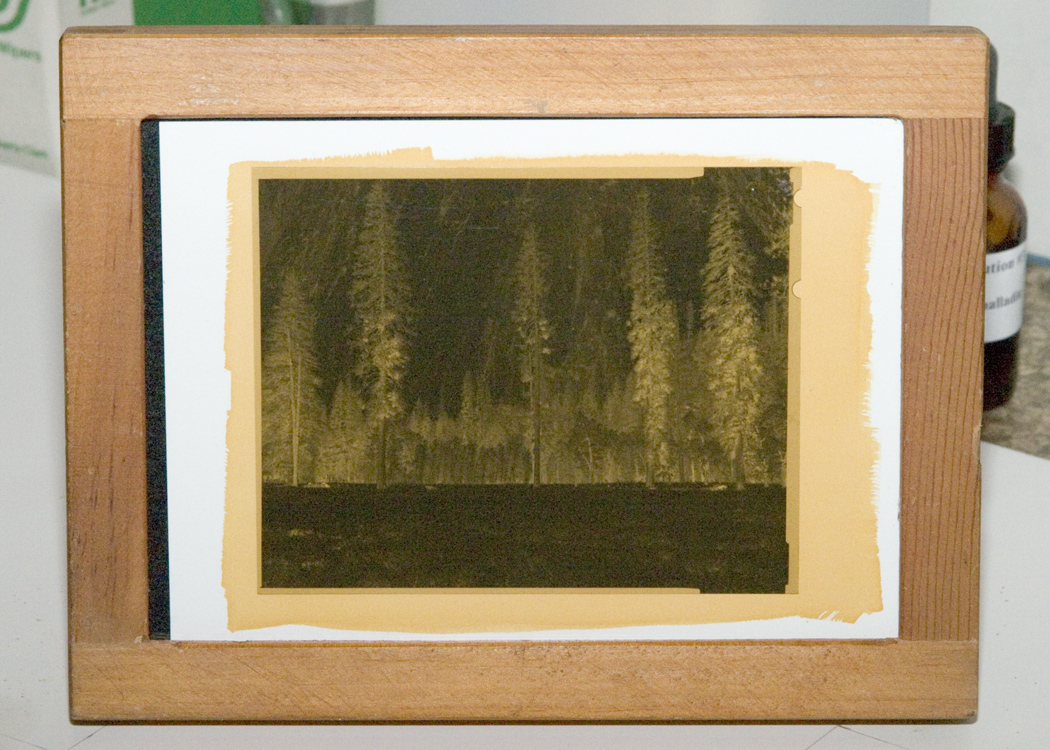
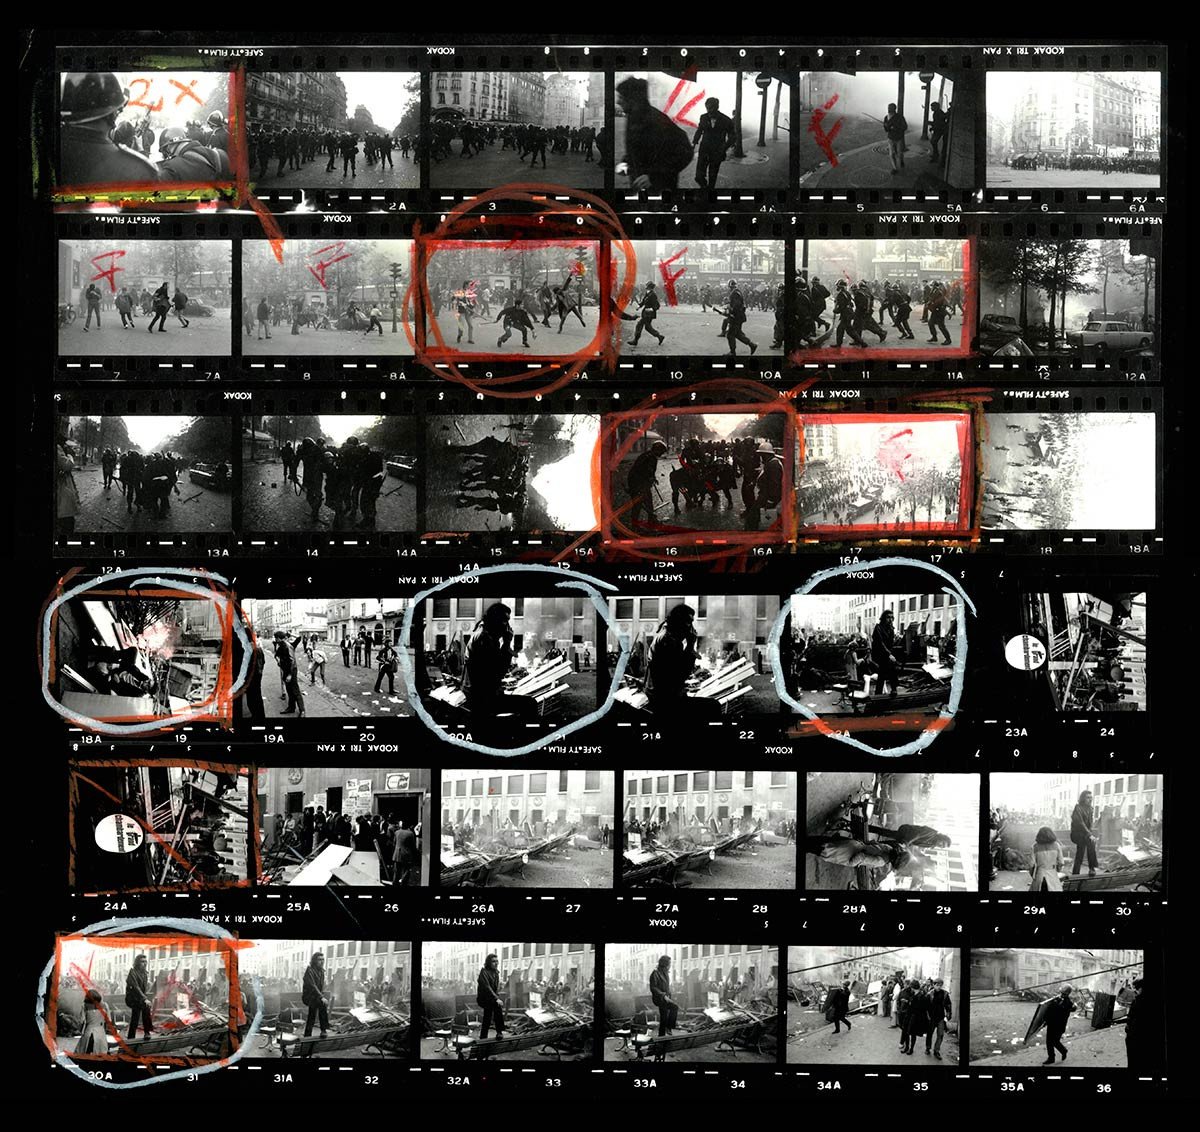
Negative – the result of exposing film to light, after being developed and fixed. Tonal ranges and colors are reversed on the negative – light areas are dark and vice versa. Negatives can be paper or film.
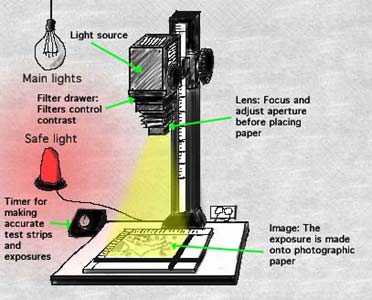
When the negative is printed (usually via an enlarger), light shines through the negative, creating a positive image which is projected onto light sensitive paper for a set amount of time. This creates a positive print.
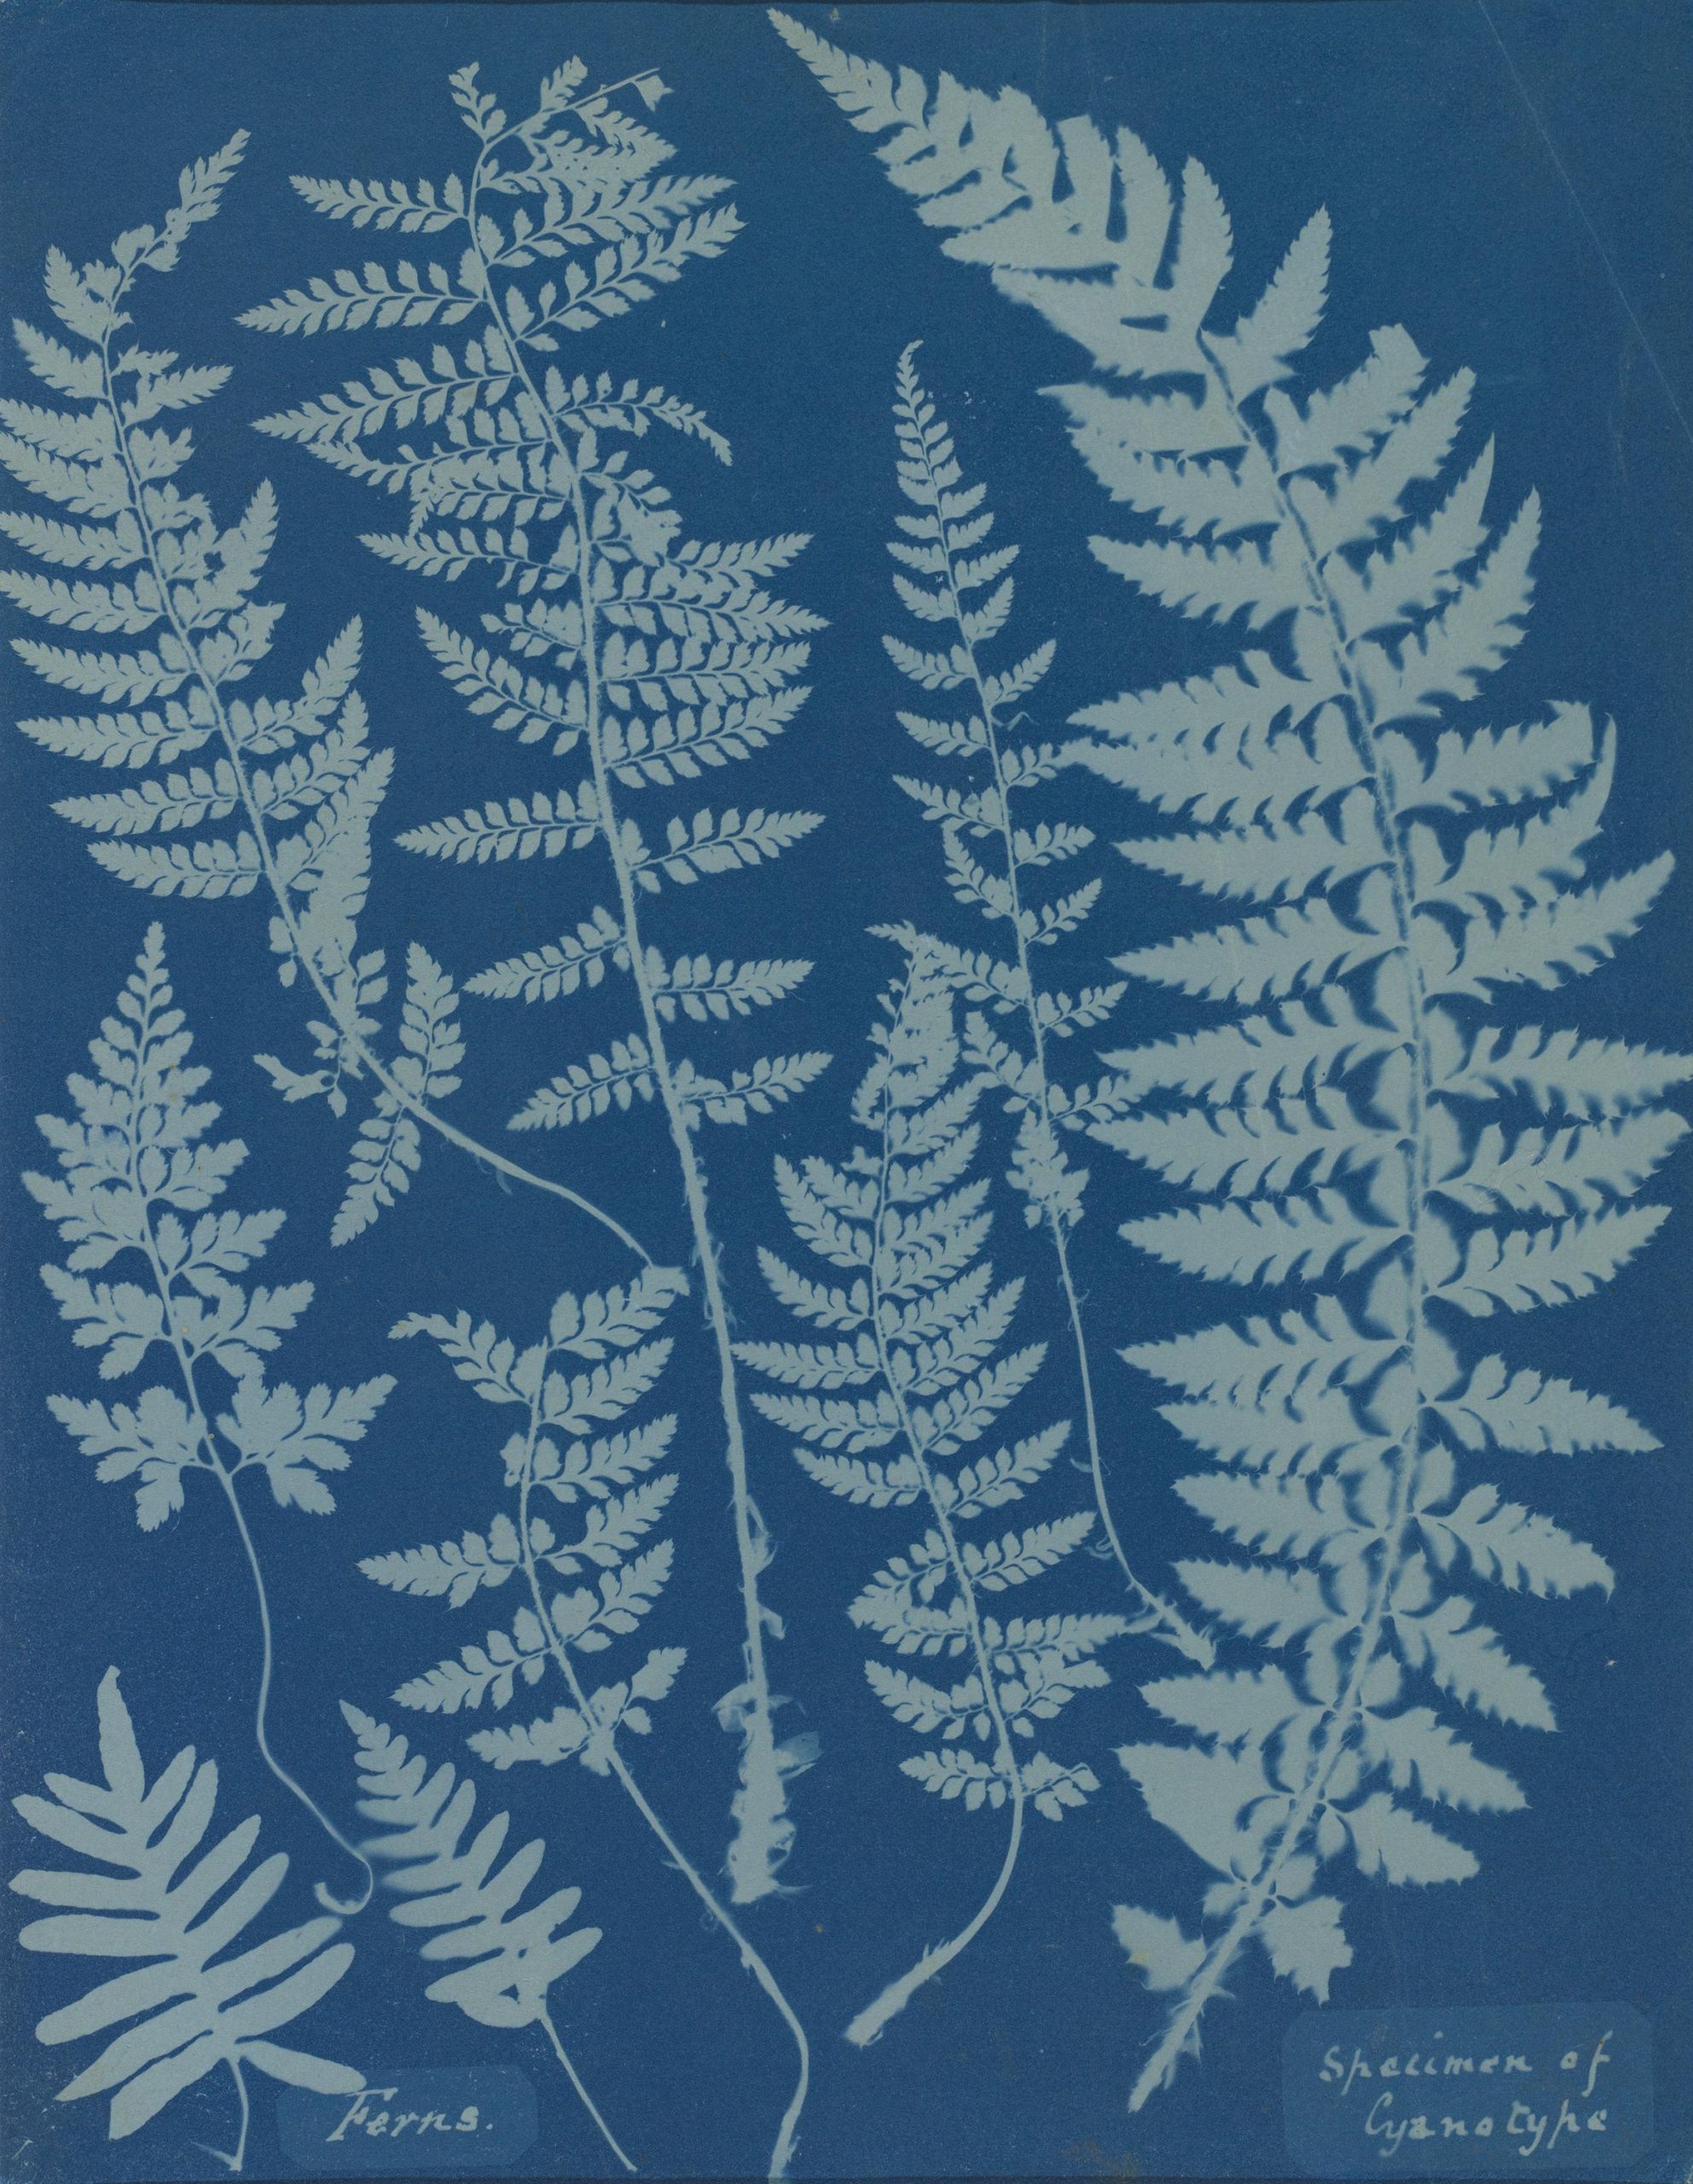
With a contact print, the negative is laid directly onto the light sensitive paper, usually with glass on top to keep them flat. This is also the process of making photograms, by which objects are placed on the light sensitive paper instead of a negative.
Photographic processes
This is by no means comprehensive, but we will learn about all of these
Photogravure
Daguerreotype
Photogram
Ambrotype
Tintype
Gelatin silver print
Stereograph
Calotype
Cyanotype
Albumen print
Slide/Transparency


